“Since you are my rock and my fortress, for the sake of your name lead and guide me.” Psalm 31:3 (NIV)
Hello Lovelies!
As we are finally approaching the end of winter, I appropriately scheduled this week’s post as my last winter make. As the weather is starting to warm up and daylight savings has already made its mark, I’ve started to crave spring. I’ve even started a few spring makes and I can’t wait to share them with you.
The weather and my wardrobe aren’t the only things shifting. I’ve also been steadily working behind the scenes working out some changes to the blog. I’ll be making some announcements in the coming weeks so stay tuned!
What I can share with you in greater detail today is my new website. I’ve been trying to figure out how to best bring together everything that I do under one website. I spent quite a bit of time working out logos, web hosting sites, domain names etc. and finally at the beginning of 2020 things started to fall into place. I’m still tweaking things but overall I’m happy with what I have. You can check it out Here.
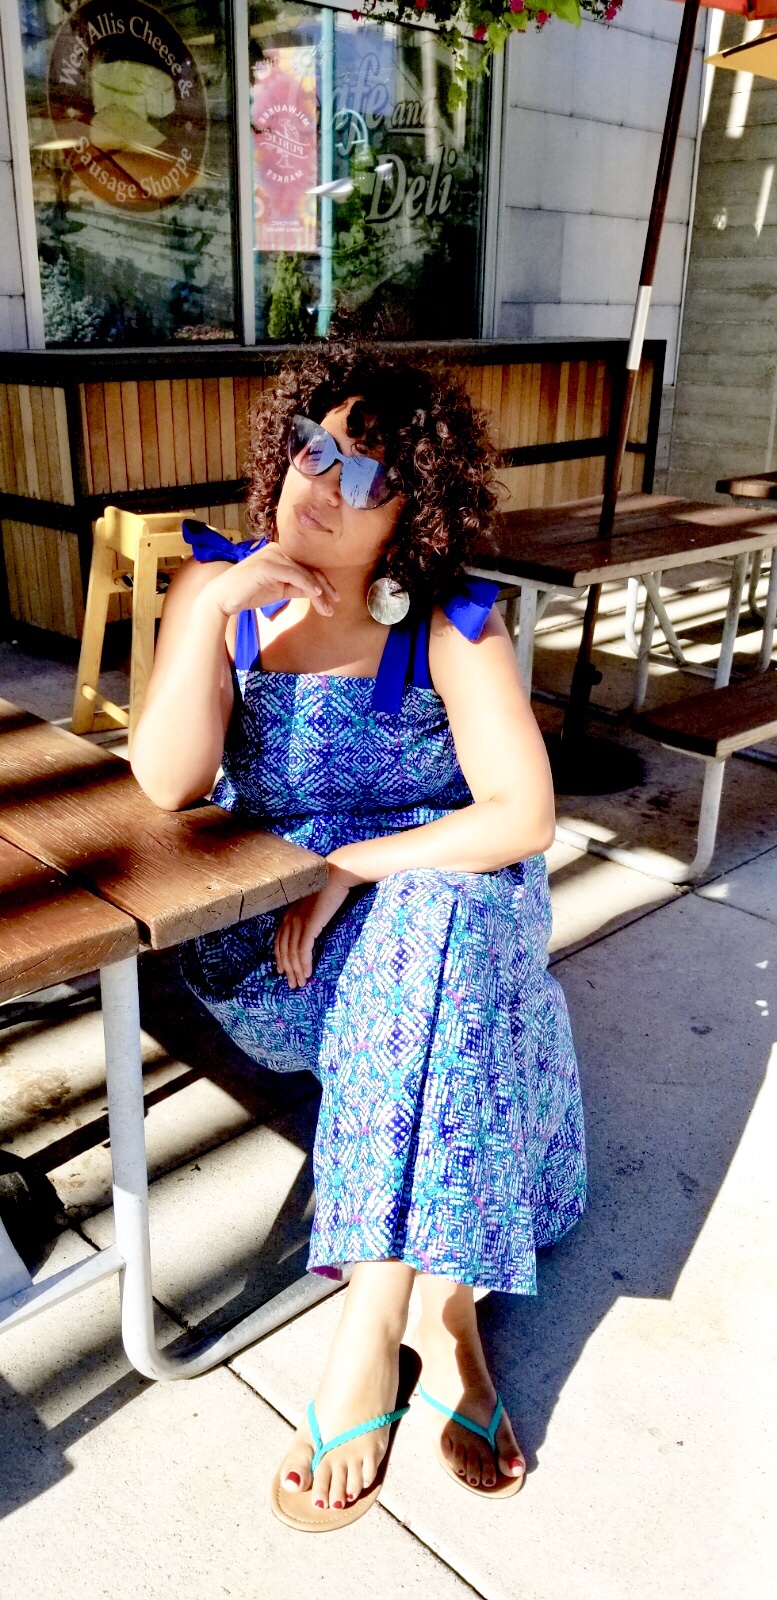
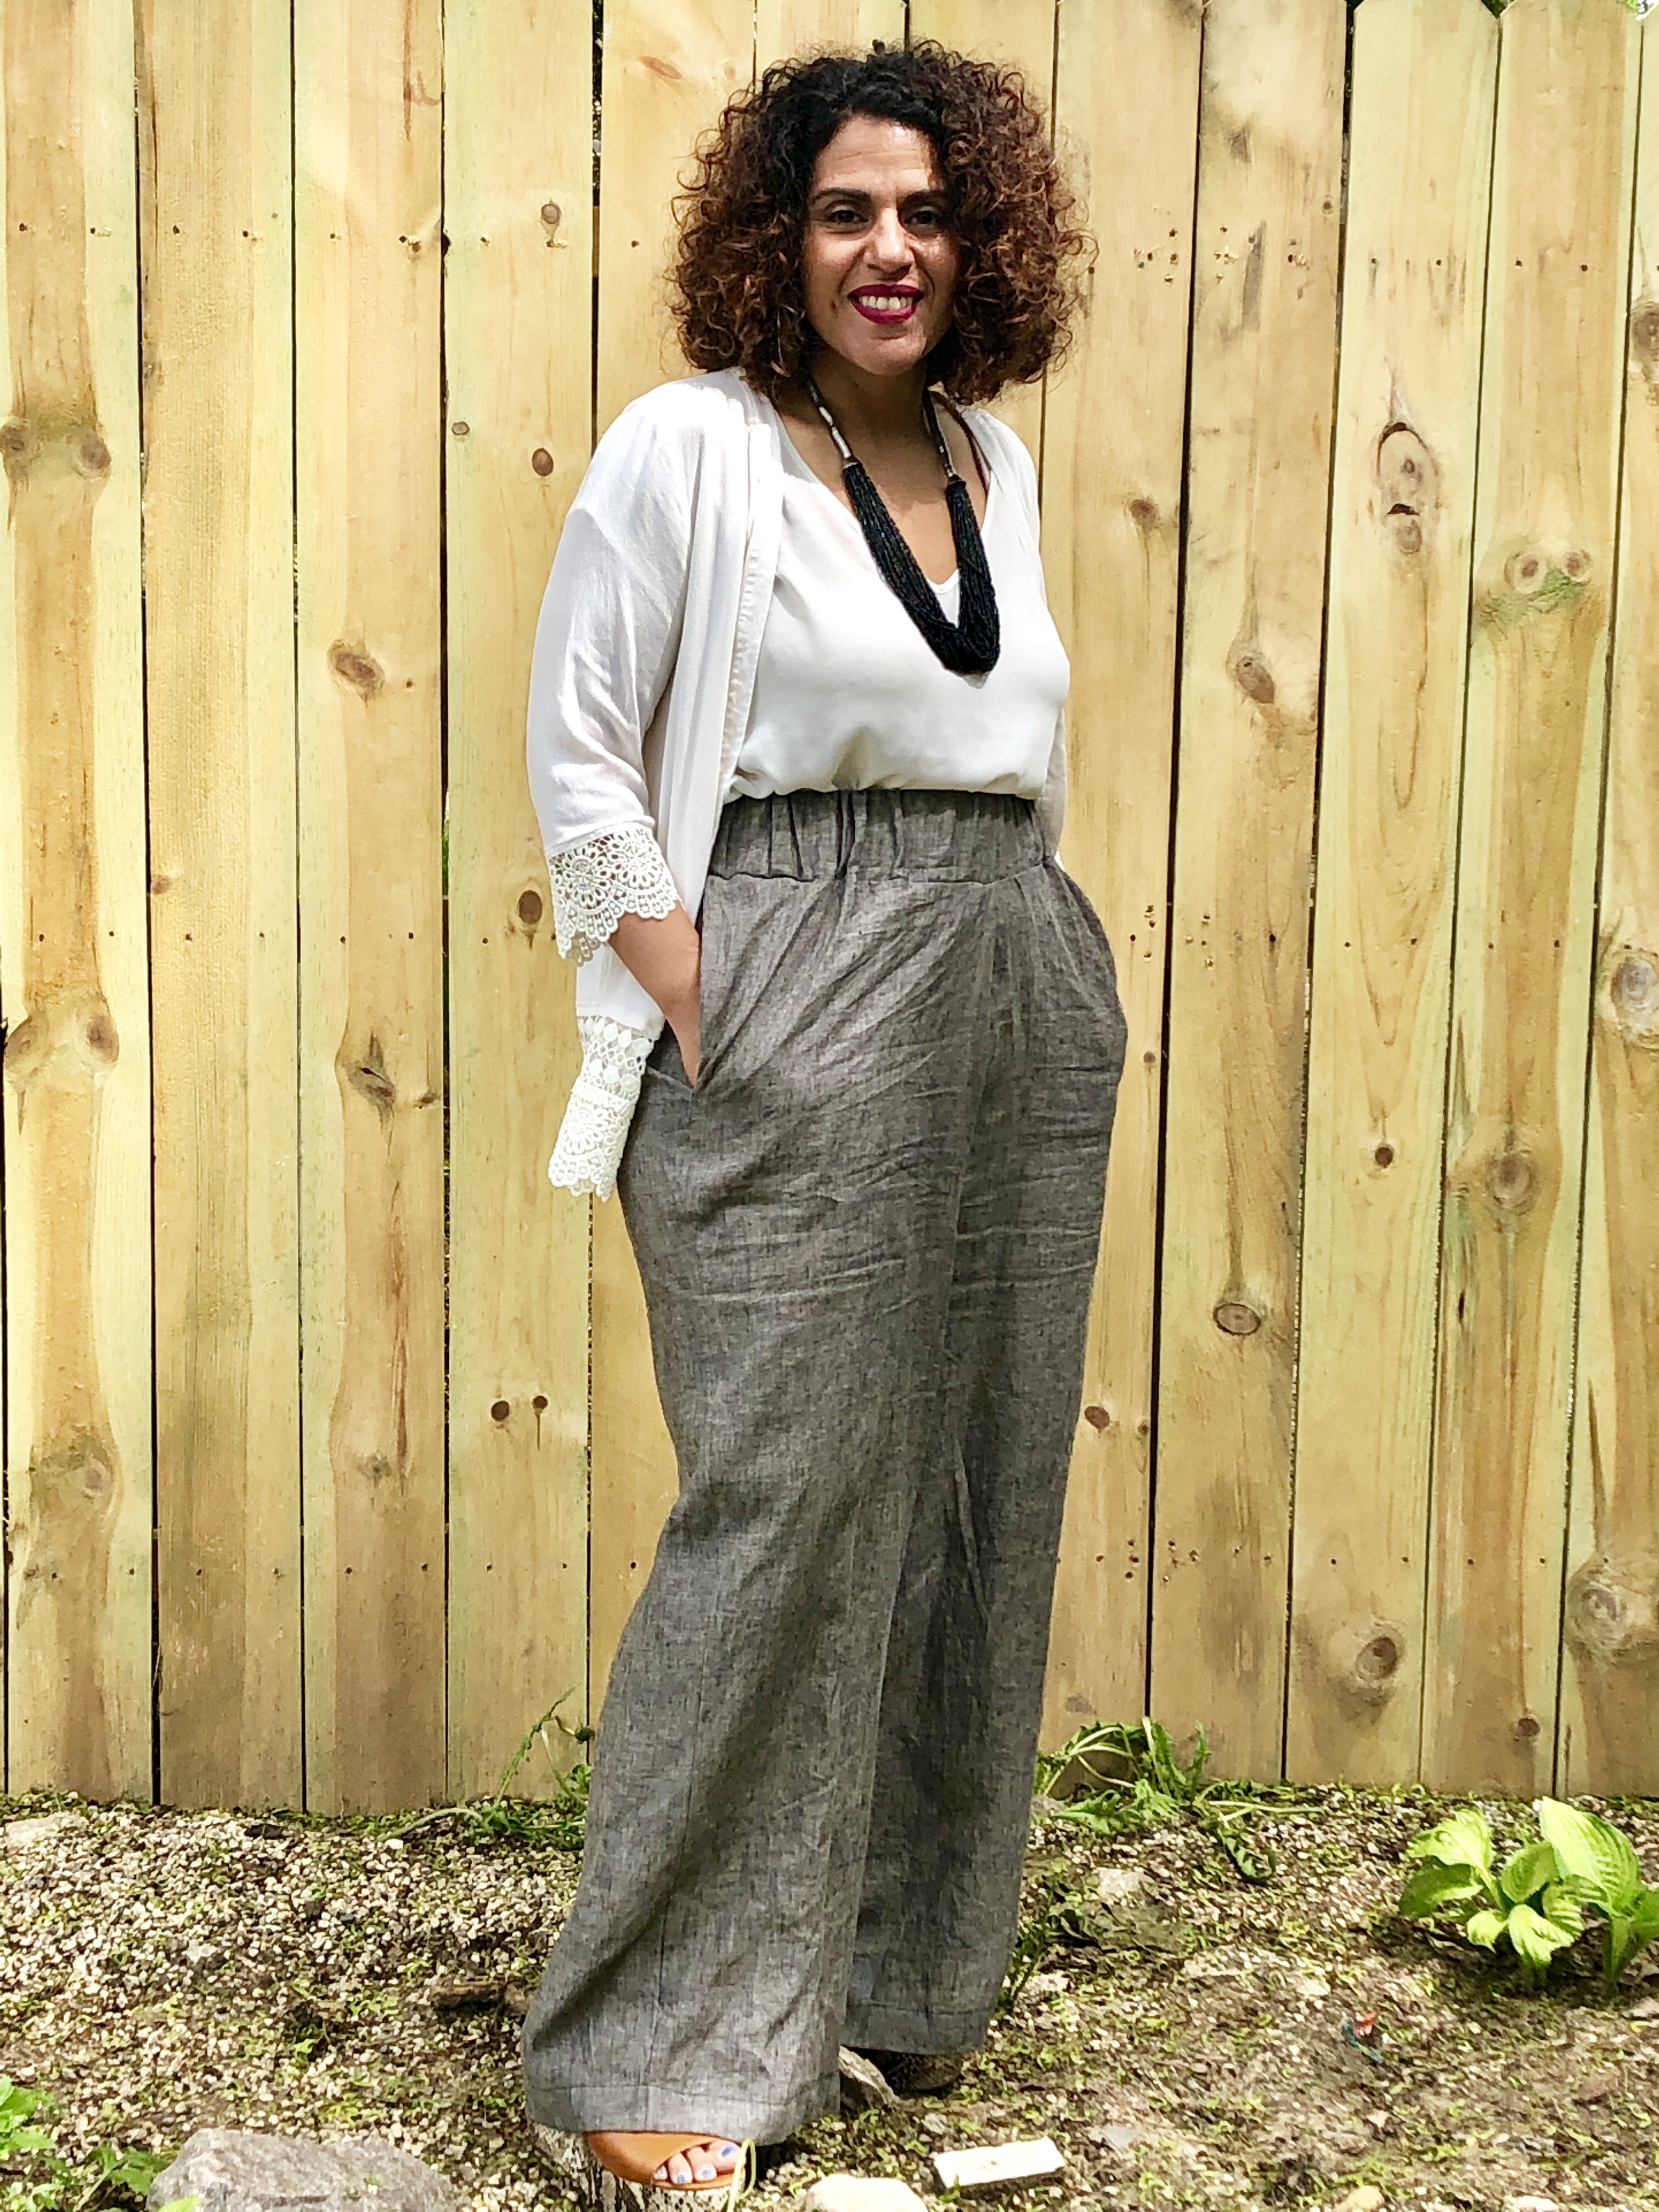
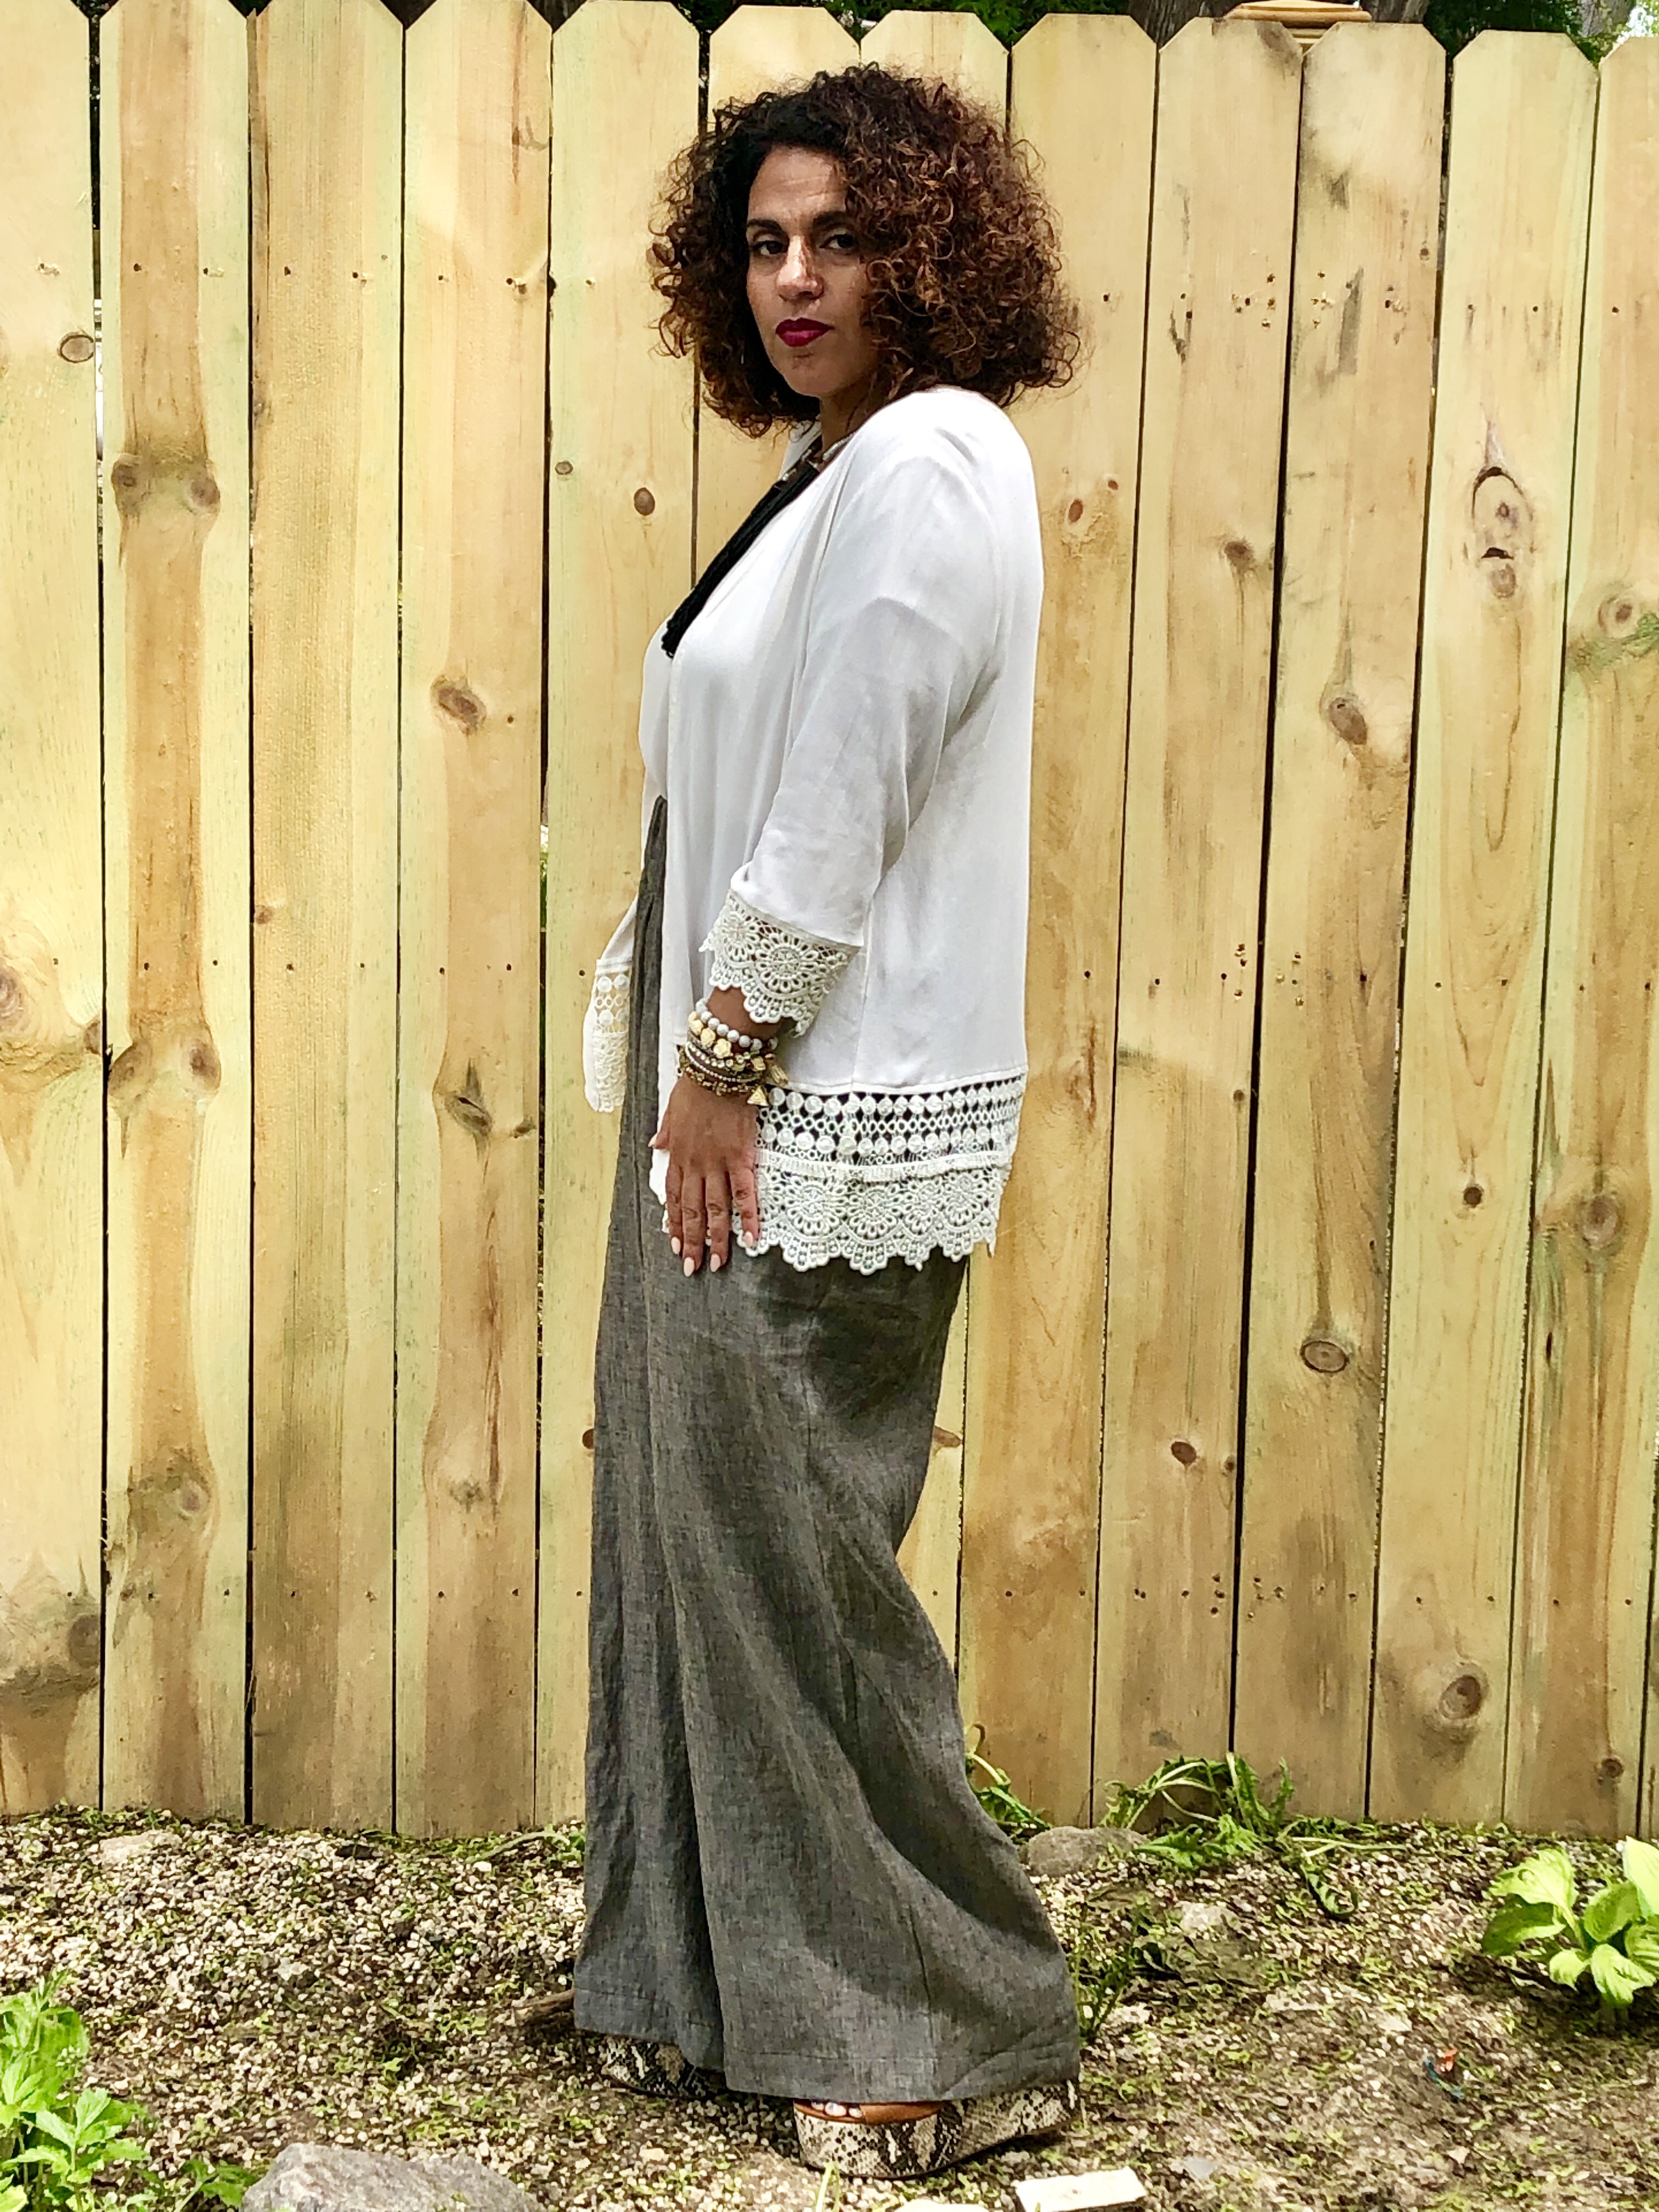
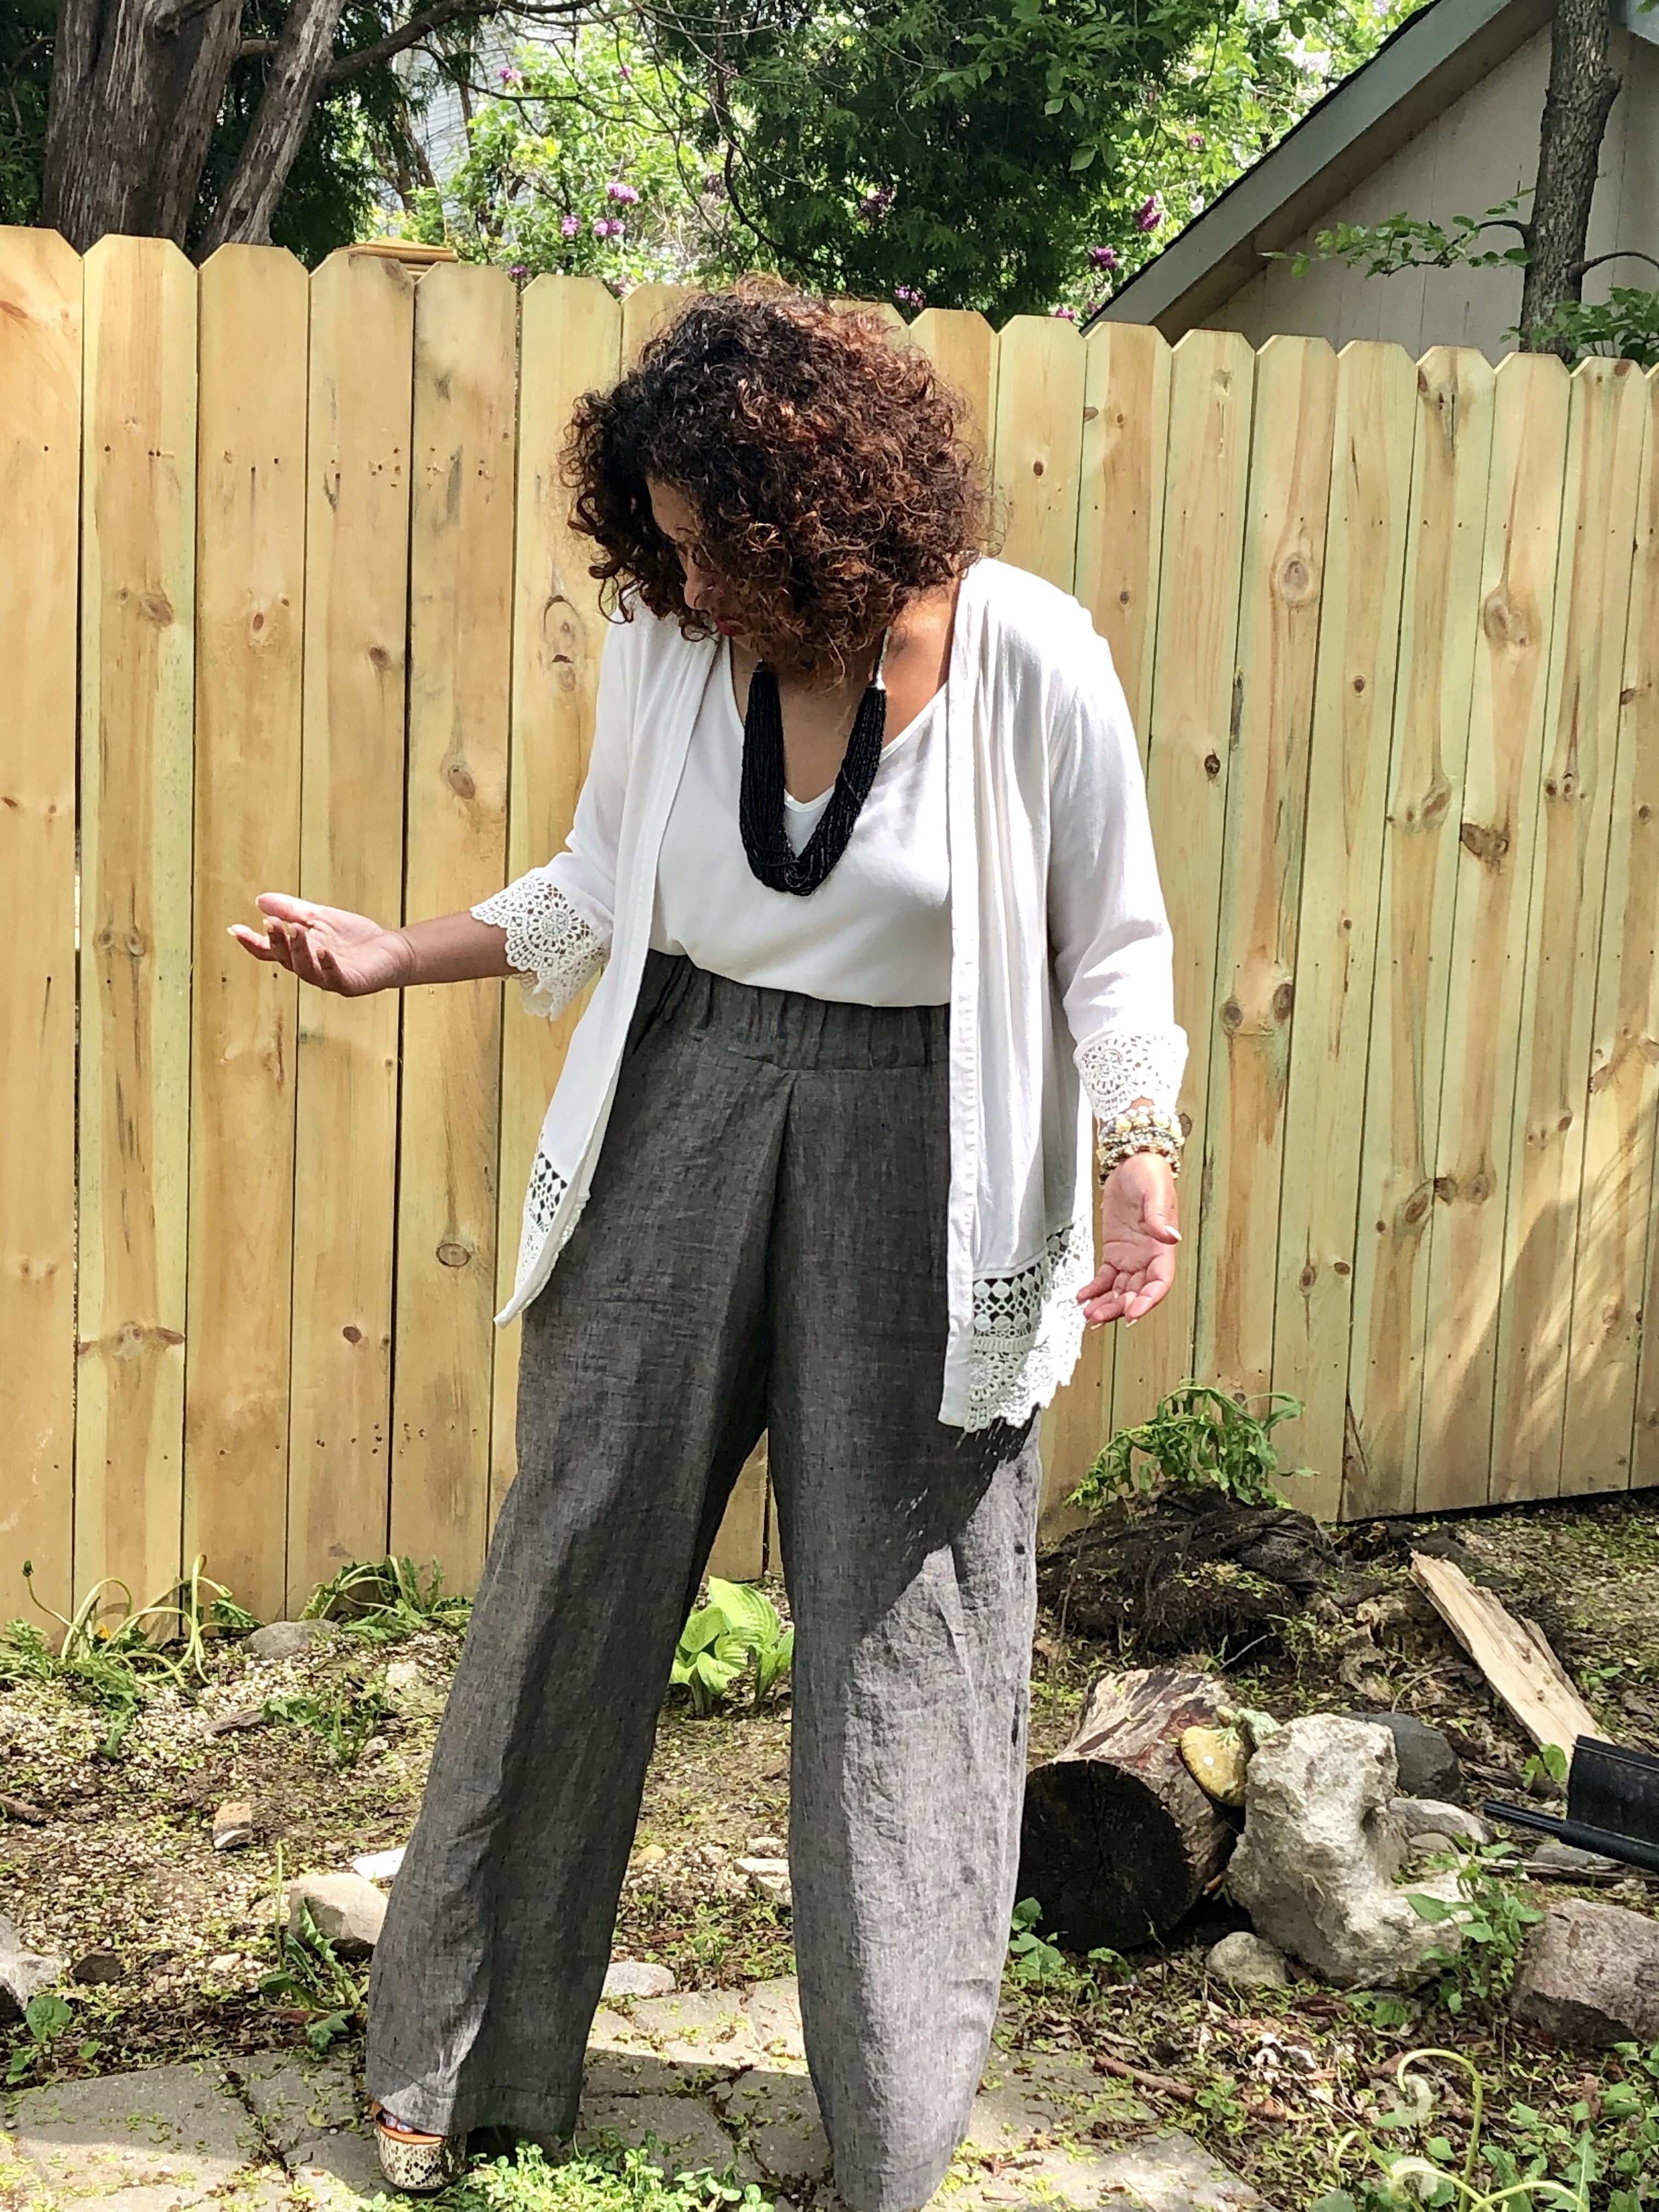
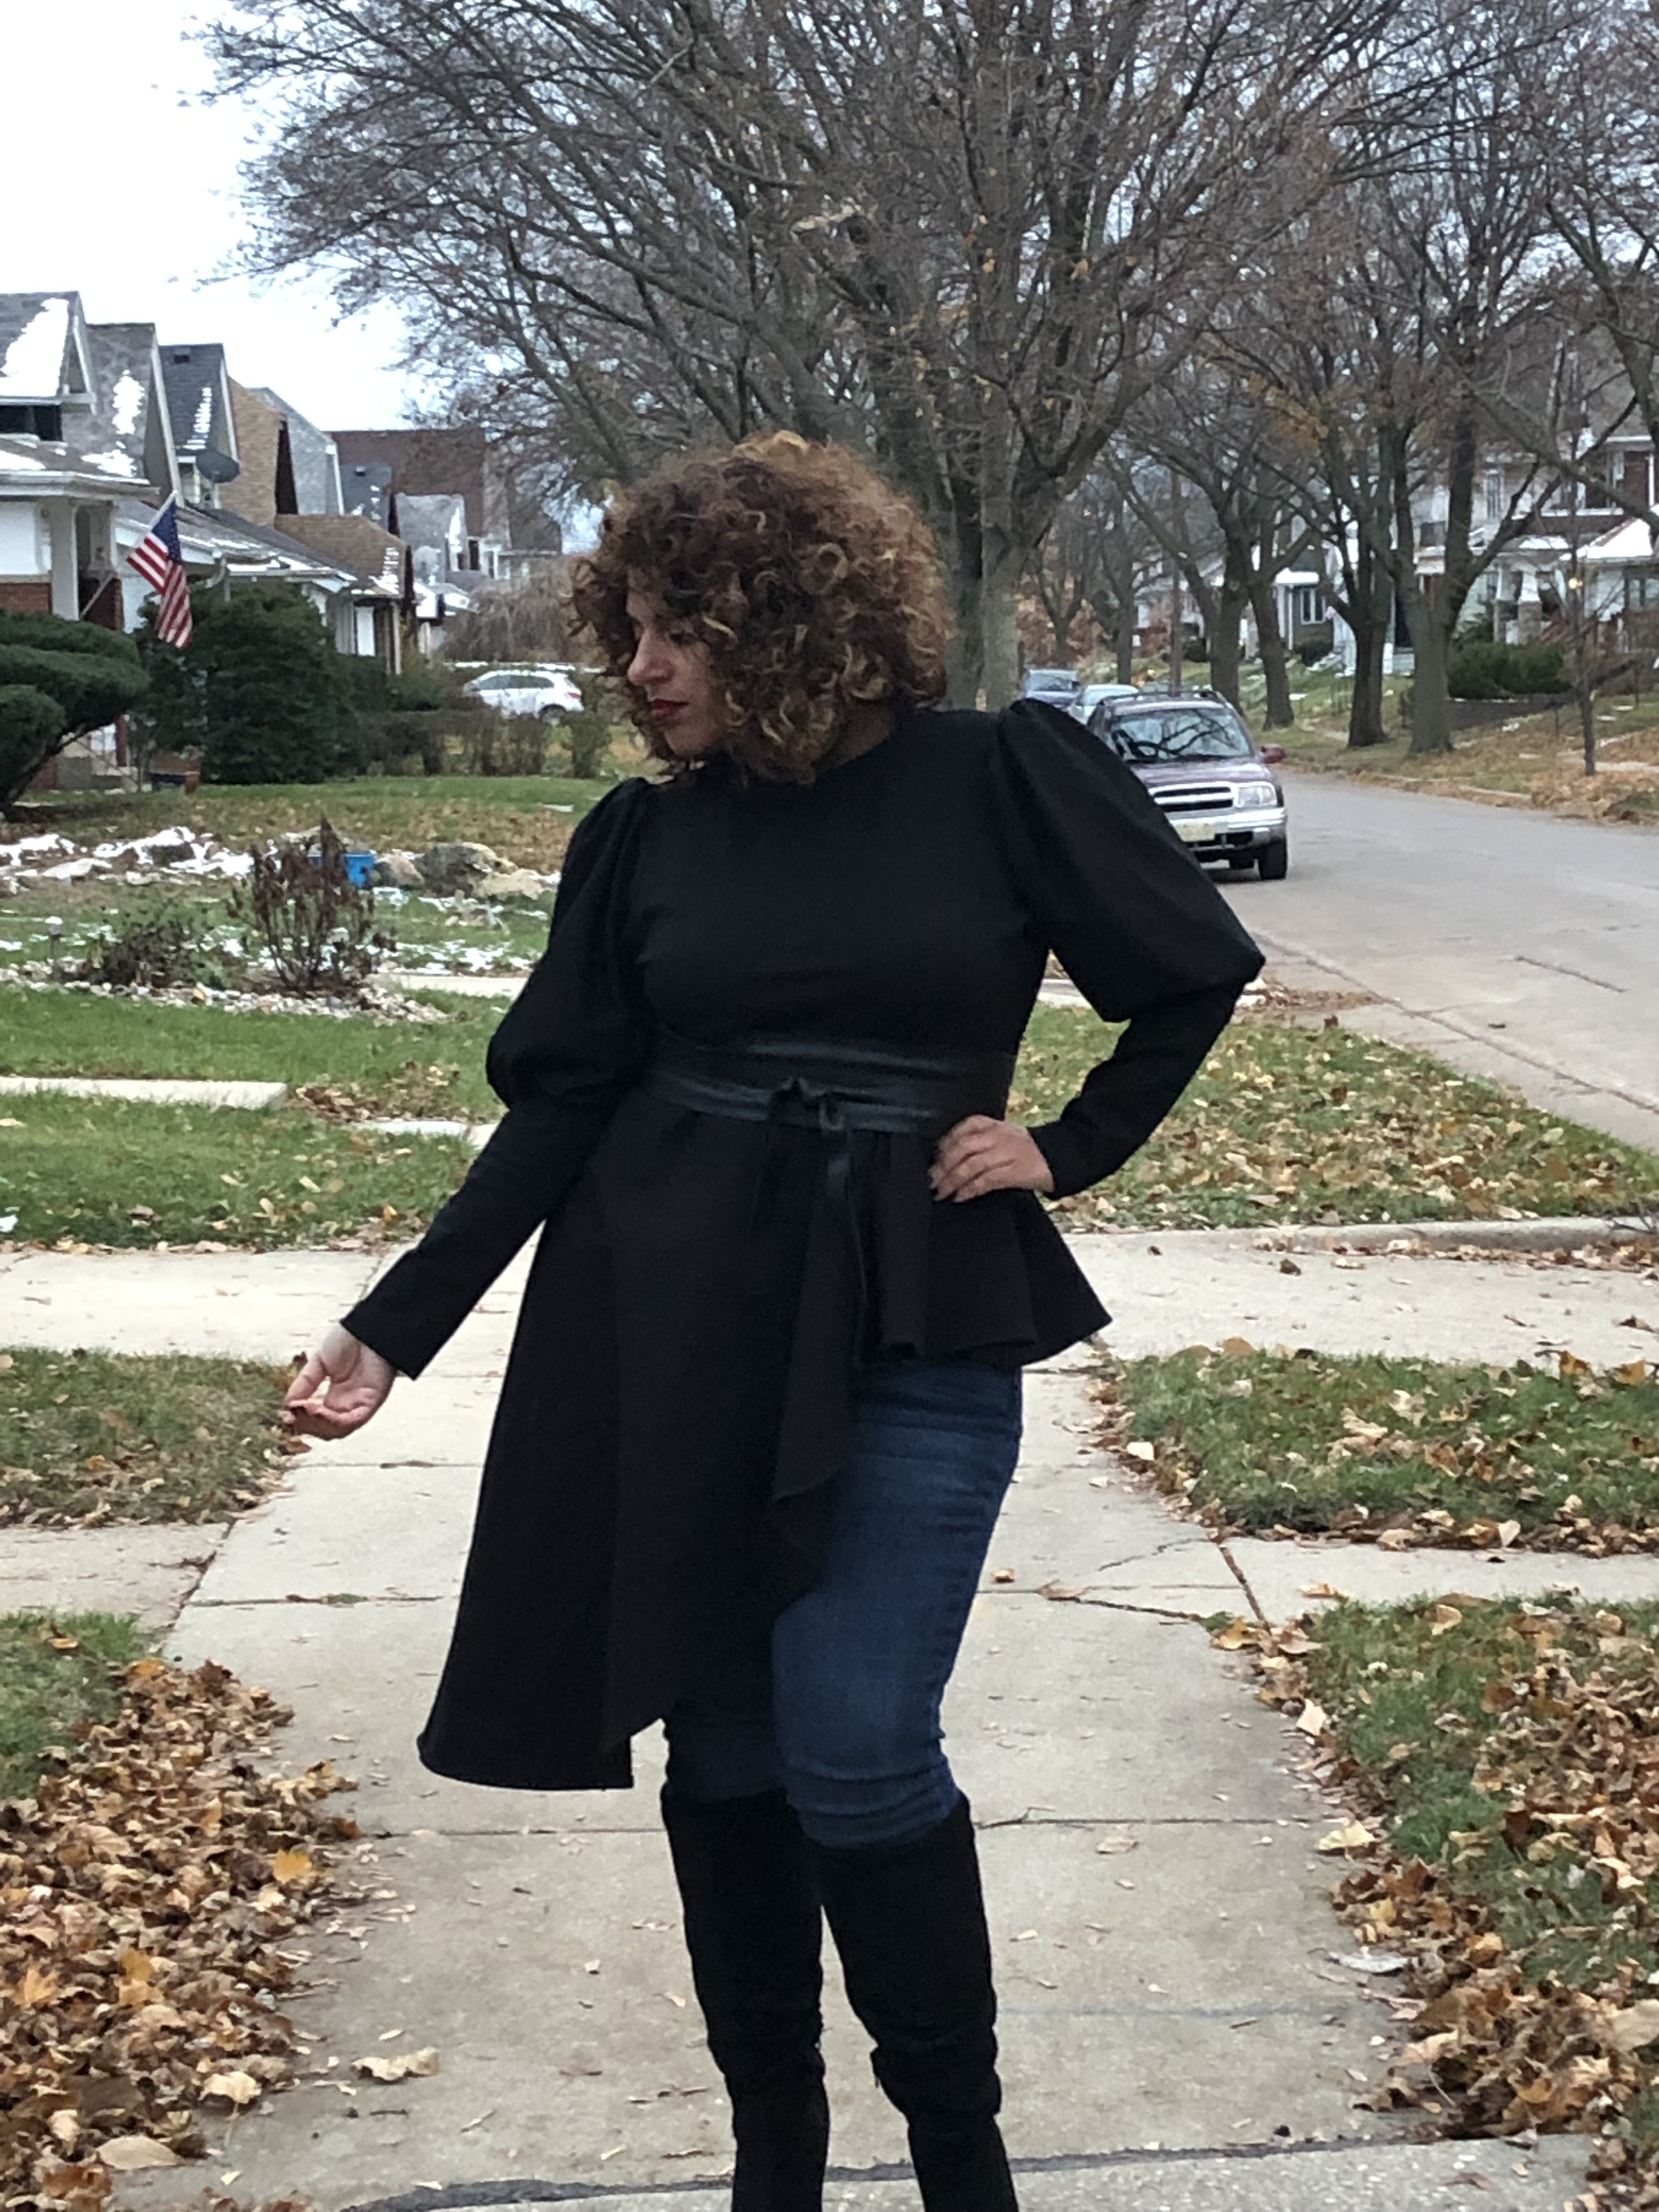
As for this week’s post. I made New Look pattern 6581. This is such a great make. It’s easy and straight forward. I made both the dress view A and the pants view C. Wearing a head to toe pant set made from the same fabric is a bit over the top for me. I tend to like to mix and match things. However, I didn’t mind the finished look of the pant set. It was a definite style change for me. but I definitely prefer wearing the dress separately.
The fabric that I used was a mid-weight stable knit. I bought it on super clearance from Joann’s back around Christmas. I think I paid $18 for about 5 yards of fabric. Its very warm as well, which is what I wanted for a winter dress.
As I mentioned earlier this make was a pretty straight forward pattern. The only design change that I made was to turn the straight sleeve into a bishop sleeve. The other changes were for fit. I did the following to adjust my pattern to fit my body:
- Shortened the bodice by 1inch to accommodate my short waist
- Increased the back rise of the pants by 3 inches to accommodate my fuller backside and shortened the front 3 inches as I do not carry a lot of weight around my stomach.
- The last thing that I did was to change the way that I finished my wrap neckline. I’ll go into a little detail about why below and then talk about how I did it.
The biggest reason I changed the way that I finished the neckline is because I don’t like the way commercial patterns finish knit wrap necklines. They often tell you to either a) use woven bias tape or b) include a facing and instruct sewers to apply fusible interfacing. I don’t like either of these methods because they both restrict the stretch of the fabric at the neckline. While the neckline does need to be stabilized you still need the stretch in the fabric. It’s the stretch that helps the fabric to mold around the curves of the bust and neck area on the body. Without it you will have gaping.
So I sought out to find a way to finish the neckline. I could have approached it by using a knit bias tape but I opted not to do that as I didn’t really feel like cutting bias strips. Instead I did the following:
- I used the facing pattern piece and cut it in the same fashion fabric as my dress. I did not add interfacing as a stabilizer for the neckline.
- Instead. I sewed 3/8″ wide clear elastic to the neckline by sandwiching it in between the dress and facing along the neckline seam.
- I finished the neckline facing by top stitching the facing down using my twin needle.
- I neatened up the facing by trimming back the excess facing fabric along the zig zag stitches.
- I smiled at how well my experiment turned out.
Overall I was happy with my results. I still had a bit of gaping at the neckline but that is because I needed to shorten the neckline a bit more to accommodate my small bust line. I opted to sew in a small snap closure to help keep the neckline from gaping.
I also think that If I used a different fabric that I could go without clear elastic. This fabric was okay for this project but is better suited for knit pajamas or a lightweight sweatshirt and would respond better to ribbed knit trim finish. I also might be overthinking it.
As for styling. You know me I keep it simple. I layered the dress with this great light weight knit turtleneck and some statement earrings. I captured photos of me in both the pant set and as a dress worn with my black suede stiletto heeled boots. Chic meets comfort in this outfit. Not to mention warm.


Well that’s all for now. Until next time ……!